Sunday 10 February 2019

Gobi 65 Restaurant style

Gobi 65 is one of my favorite starter since my school days. When ever I am with my family in Hotel, I order for sure Gobi 65 or Gobi Manchurian as starter. I tried this recipe with lot of ratio in different mix style and finally got the right ratio to get crispy florets. It is so easy to make and can be served as a side dish or starter or even as a evening snack.


Preparation time: 15 mins
Cooking time: 10 mins
Serves: 2 nos

Ingredients:

Cauliflower florets - 150 gm
All purpose flour/ Maida - 3 tablespoon
Corn flour - 4 tablespoon
Food colour - Red (1 pinch, optional)
Dry curry leaf - 1 tablespoon (crushed)
Coriander leaf - 1 tablespoon (finely chopped)
Red chilli powder - 3/4 teaspoon
Garam Masala - 1/4 teaspoon
Pepper powder - 1 teaspoon
Ginger garlic paste - 1 teaspoon
Water - to mix
Salt - to taste
Oil - to deep fry

Preparation Method:

1. Cut cauliflower into small florets, wash and parboil/ blanch them in boiling water for 1 minute with little salt.
2. Strain water and keep florets aside.


3. In a bowl mix salt, chilli powder, garam masala, ginger garlic paste, curry leaf, coriander leaf, food colour, maida, corn flour, pepper powder to make thick flowing consistency paste by adding water.
4. Now add cauliflower florets into the mix, give nice stir such that each cauliflower is coated with masala and rest them for 10 mins.
5. Heat oil in a large pan and add cauliflower florets one by one in batches and deep fry it.
6. Once the florets cool off, deep fry it again in highly hot oil such that florets remain crispy. Donot over cook, once the sizzling sound vanish off remove florets from oil and put it on paper towel.

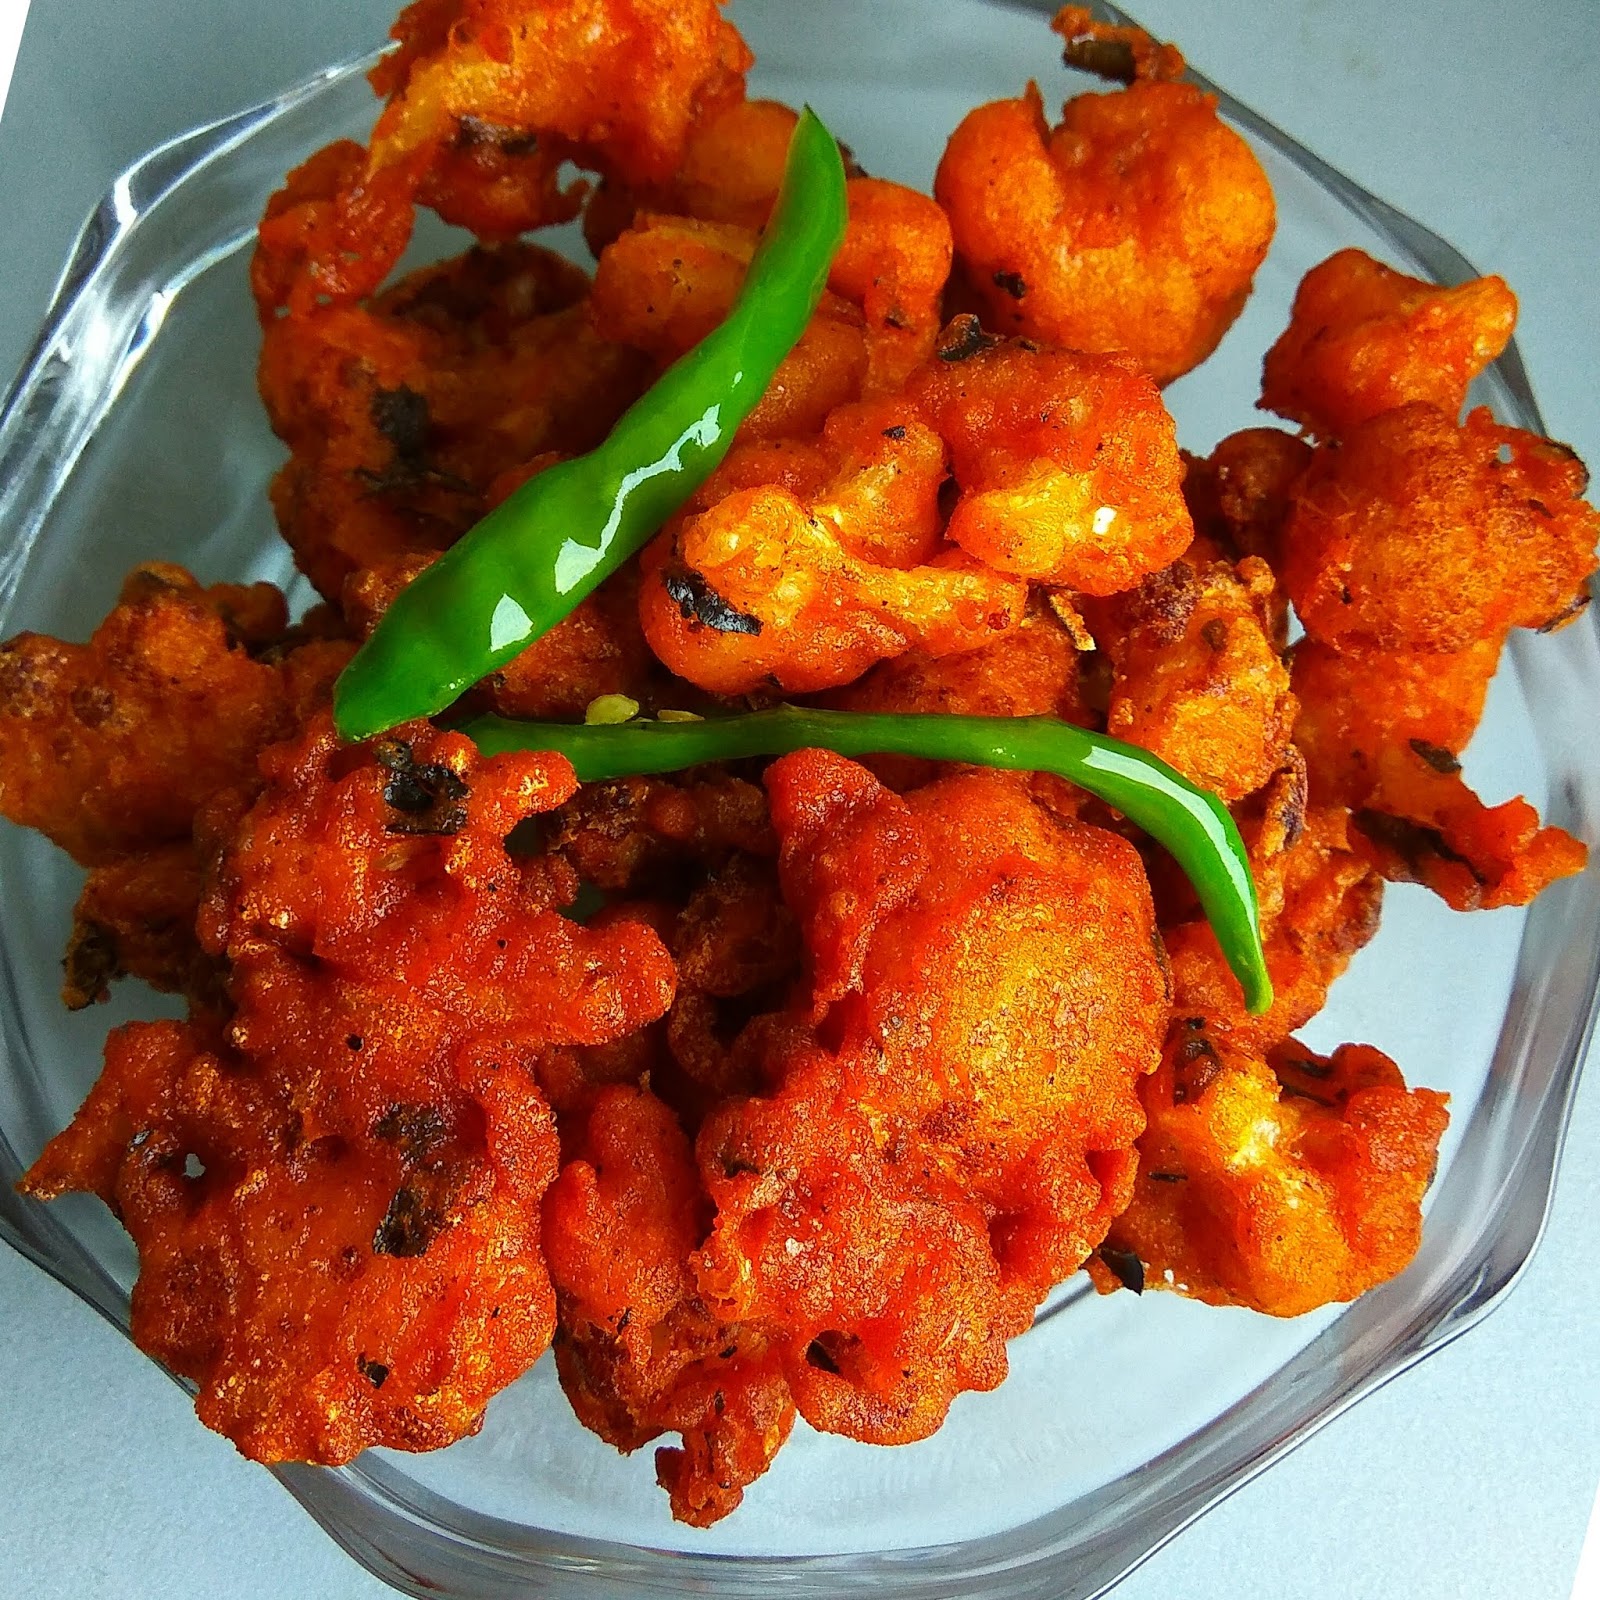
Yummy, spicy, crispy Gobi 65 is ready to be served.

Tips:

1. Ensure par boiling is done in boiling water and just for one minute, if not cauliflower will be over cooked and turns soggy when it is fried in oil.
2. Sprinkle little chat masala, black salt on gobi 65 while serving. Serve with lime slice and few onion rings.

Monday 4 February 2019

Instant Tomato Rice - 20 mins

Tomato rice is the most easy variety rice we can make if we have very less time and cooked rice on hand. This method is very easy and much tasty too. No dry garam masala are used to cook tomato rice and it is old traditional method. With less time and home available ingredients one can instantly prepare this rice. People who are allergic to spicy masala can definitely try this recipe and it can be served with any raita, vadam, or simple potato fry.


Preparation time: 10 min
Cooking time: 10 mins
Serves : 2 nos

Ingredients:

Oil - 2 to 3 tablespoon
Mustard - 1 teaspoon
Urad dal - 1 teaspoon
Channa dal - 1 teaspoon
Peanut/Groundnut - 1 tablespoon (roasted)
Cashewnut - 6-10 nos
Garlic - 4 pods(finely chopped)
Onion - 1 (large, finely chopped)
Tomato - 2 (finely chopped)
Green chilli - 1 no (slit into half)
Curry leaf - one sprig
Chilli powder - 3/4  teaspoon
Corainder powder - 1 teaspoon
Garam masala - 1/2 teaspoon
Turmeric powder - 1/4 teaspoon
Coriander leaf -1 tablespoon(finely chopped)
Cooked rice - 1 cup
Salt - to taste
Sugar -1/4 teaspoon
Water - 1/4 cup

Preparation Method:

1. Pressure cook raw rice with little salt and few drops of oil for 3 whistles.


2. Heat oil in a large pan and add mustard seeds, once it splutter add urad dal, channa dal, cashewnut, groundnut and saute well.


3. Add garlic,onion, green chilli, curry leaf and saute well until onion turns translucent. Add finely chopped tomatoes , sugar and cook well until tomato turns mushy.


4. Sprinkle all masala powder such as turmeric powder, chilli powder, garam masala, coriander powder with needed salt to  the onion tomato gravy and give a nice stir. Add 1/4 cup of water to it, mix well, cover the pan with lid and allow the gravy to cook well until raw smell of masala vanish off in low flame.


5. Once oil separates the side of gravy, add finely chopped coriander leaf and switch off the flame.
6. Mix needed gravy to cooked rice and sprinkle little salt to it as per taste.

Yummy, instant and easy Tomato rice is ready to be served. Serve with any potato fry, soya chunk fry or yam fry.

Tips:

1. This gravy can be refrigerated for a week and can be served with dosa, idly too.
2. Always use gingelly oil to cook this gravy as it gives good taste.

Thursday 31 January 2019

SoyaChunks Fry/ Meal maker Fry

Soya chunks fry/ Meal maker fry is rich in protein and best alternative for vegetarian as protein substitute. I ate this as a sidedish in my friend Deepa's house,one fine noon along with Sambar rice. She prepared it so yummy and I tried the same at my home. It turns out so good and goes well with Sambar rice and Rasam rice.


Preparation time: 10 mins
Cooking time: 15 mins
Serves: 2 nos

Ingredients:

Onion - 2 finely chopped
Tomato - 2 finely chopped
Ginger - 2 inch piece (finely chopped)
Garlic - 4 pods (finely chopped)
Soya chunks - 1/4 cup
Chilli powder - 3/4 teaspoon
Coriander powder - 1 teaspoon
Turmeric powder - 1/2 teaspoon
Garam Masala - 1/2 teaspoon
Coriander leaf - 2 tablespoon
Mustard seeds - 1 teaspoon
Urad dal - 1 teaspoon
Oil - 2 tablespoon
Salt - to taste
Water - to boil soya chunks

Preparation Method:

1. Boil soya chunks in water with little salt for 10-15 mins until it turns soft. Filter and squeeze water form soya chunks. Split each one of it into 2 and keep aside.
2. Heat oil in a kadai and add mustard seeds, once it splutter add urad dal, ginger, garlic, finely chopped onion and saute it medium flame, until onion turns translucent colour.


3. Add chopped tomatoes, salt, turmeric powder and mix well until tomatoes turns mushy.
4. To the onion tomato mixture, add chilli powder, garam masala, coriander powder and saute well by adding 3 tablespoon of water and allow the mixture to boil in low flame, until raw smell of masala vanish off and oil leaves the side of masala .
5. Add boiled and split soya chunks to onion tomato gravy and mix well such that each chunks is coated with masala. In a low flame, allow soya chunks to fry well in masala and turns completely dry.
6. Finally garnish with chopped coriander leaf and switch off the flame.

Yummy, spicy Mealmaker fry is ready to be served. It can be served with sambar rice or rasam rice an alternative for potato fry :) 

Thursday 24 January 2019

Chickpeas sundal/ Kondaikadalai Sundal

Navarathri is one of the important festival celebrated almost all over India. Though people celebrate this festival in different ways, main concept is to worship Goddess Durga, Lakshmi and Saraswathi. My mom used to keep Kolu and invite people everyday. Girl children dress up well and used to celebrate this festival for all 9 days. Everyday different variety of food is prepared and offered to God. All nine days, they make different prasadam such as Sundal, sakarai pongal, pulihora , etc... Today lets see one Sundal "Chickpeas Sundal", more healthy and very easy to make. This sundal got published in Sakthi Vikatan october 2018.

Sundal is enrich of high protein and can be given on daily or alternative basis to children and elderly people.


Ingredients for Sundal:

Chickpeas - 1/2 cup (Soaked for 8 hours)
Sundal powder - 2 tablespoon
Dry red chilli - 1 no
Salt - to taste
Curry leaf - 1 prig
Gingelly oil - 2 teaspoon
Water - to boil chickpeas(~ 2 cups)
Mustard seeds - 1 teaspoon
Urad dal - 1/2 teaspoon (split)
Hing - 1/4 teaspoon
Grated coconut - 2 tablespoon

Ingredients for Sundal powder:

Corriander seeds - 2 tablespoon
Dry red chilli - 5 nos
Channa dal - 2 tablespoon

Preparation Method:
1. Dry roast all the ingredients given for making Sundal powder and grind it to coarse powder.
2. Wash and soak chickpeas/channa over night for 8 hours.
3. Pressure cook soaked channa with water and little salt approximately for 8-10 whistles.
4. Heat oil in a kadai and add mustard seeds, when it splutter add urad dal,red chilli, hing, curry leaves and cooked channa.Now sprinkle sundal powder and needed salt. Mix well on medium-low flame.
5. Finally add grated coconut and just mix twice or thrice and switch off the flame.

VenPongal - 20 mins quick breakfast

One of the most common breakfast in South India is VenPongal. This recipe is made during Navarathri to goddess as prasadam. I used to make this recipe in a little different way, so that  aroma and taste of seasoning is mixed throughout.

Preparation time:  5 mins
Cooking time: 15 mins
Serves: 2 nos

Ingredients:

Rice - 3/4 cup
Moong dal - 1/4 cup
Ghee - 2 tablespoon
Jeera - 3/4 teaspoon
Black pepper - 3/4 teaspoon (semi crushed)
Curry leaf - 1 sprig
Asafoetida - 1/4 tablespoon
Ginger - 1 teaspoon (finely chopped)
Green chilli - 1 (finely chopped)
Oil - 1 teaspoon
Salt - to taste
Water - 4 cups
Cashewnut - 10 nos

Preparation Method:

1. Wash rice and dal together in water for 3 to 4 times and keep aside.
2. Heat ghee in a pressure pan and fry cashewnuts and keep aside.
3. To the same pan add oil and saute jeera, pepper, curry leaf, ginger, green chilli and asafoetida.
4. Add washed rice, dal, water and needed salt to the pressure pan and mix well.
5. Close lid of pressure pan and pressure cook for 4 to 5 whistles.
6. Once pressure vanish off, add fried cashews and mix well.

Yummy, tasty and aromatic Pongal is ready to be served.

Serve VenPongal with coconut chutney and sambar.

Gobi Manchurian Dry - Restaurant style

Most famous and common starters among Indians is Gobi Manchurian. It's been so long I have tasted this recipe. It was so surprise when barer said, we have good all time starter Gobi Manchurian in our restaurant  and our chef prepares well, in no minute we ordered it. Yup in Germany hardly we can taste fancy Indian starters and soup.

I myself have done this many time in India, but never before here. This Newyear (2019) was a good start with home made Gobi manchurian. I remember my college days with my dad. Whenever I ask Fried rice or cashew pulao, he gets me along with Gobi manchurian. How tasty I do cook, still what ever my father got for me is special and tasty :), enriched with all his love.


Preparation time: 20 mins
Cooking time: 20 mins
Serves : 4 nos
Cuisine: Indo- chinese

Ingredients:

For Gobi Manchurian:

Cauliflower florets - 1 cup
Pepper - 2 teaspoon
Salt - to taste
Cornflour - 3 table spoon + 1 teaspoon
Maida - 3 table spoon +1/2 teaspoon
Water - to mix
Oil to Fry

For Gravy:

Oil - 2 tablespoon
Spring onion chopped - 2 tablespoon
Green chilli chopped - 2 teaspoon
Garlic chopped - 4 teaspoon
Ginger chopped - 2 teaspoon
Capsicum chopped - 2 tablespoon
Onion - 1 finely chopped
Soya sauce - 3 teaspoon
Chilli sauce - 2 teaspoon
Tomato sauce - 3 teaspoon
Sugar - 1/2 teaspoon
Pepper - 1 teaspoon
Cornflour - 2 teaspoon
Salt to taste

All ingredients for gravy should be finely chopped.

Preparation Method:

1. Cut cauliflower into small florets. Boil water with little salt in a pan. To the boiled water, add cauliflower florets for one minute, par boil, strain and keep aside.
2. In a mixing bowl, add corn flour and maida 3 tablespoon, salt, pepper and needed water to make thick batter (bajji consistency).
3. Add cauliflower florets to this mix and stir well to ensure the batter is coated well to each florets. Now add 1/2 teaspoon of maida and cornflour to it and mix well.
4. Heat oil in pan and fry cauliflower florets, batch by batch. Allow the florets to cool down and deep fry again in very hot oil and keep aside.It helps florets to be crispy and oil free.
5. In a separate sauce pan, heat 2 tablespoon of oil for preparing gravy.
6. Add finely chopped garlic. Saute it until it turns golden brown.


7. Add green chillies, onion, ginger one by one and saute all until onion turn transparent.
8. Finally add capsicum and saute it. All vegetables will turn crispy once sauted. Now add soya sauce, chilli sauce, tomato sauce, pepper and mix well.
9. Add pinch of salt and sugar to the gravy.
10. In a small bowl prepare cornflour paste by mixing cornflour and water to thin consistency. Add this cornflour mixture to gravy and stir well in low flame.


11. Once the gravy thickens, add the fried florets into gravy and mix it, such that all florets are coated well with gravy.
12. Now Finally add chopped spring onion and mix it.
13. Serve it in a platter as starter.

Tips:

1. Ensure florets are deep fried twice to maintain crispy and oil free.
2. Use only thick soya sauce. Since soya sauce is added, ensure salt is added less in gravy.

Thursday 10 January 2019

Roasted Red Capsicum Chutney

Capsicum chutney is one my most favourite chutney. I love to have it along with soft and hot idli's or dosa. It's been long since I made this chutney, my sister reminded me few days back and then I made this chutney yesterday. Capsicum generally have more nutritious value, contains vitamin c more than orange fruit and vitamin B6. Also it is one of the best anti oxidant. I have already posted how to make green capsicum chutney. This red capsicum chutney slightly varies from previous one and it is so appealing and tempts to eat.


Ingredients:

Red capsicum -1 no (diced into cubes, large)
Onion -1 (sliced, large)
Garlic cloves - 3 nos
Green chilli - 1 nos(slit)
Red chilli - 3 nos
Curry leaves - few
Asafoetida - 1 teaspoon
Oil - 2 tablespoon
Salt - to taste
Tamarind paste - 1 teaspoon

Seasoning:

Oil - 1 teaspoon
Curry leaves- few nos
Red chilli -1 no
Mustard - 1 teaspoon
Urad dal (split)- 1 teaspoon

Preparation Method:

1. Heat 2 tablespoon oil in kadai and add garlic, green chilli, red chilli, onion, curry leaves and capsicum one after other and saute it in medium flame around 5  mins.
2. Finally add tamarind paste, asafoetida and saute it for a minute and then switch off the flame.
3. Allow  the mixture to cool down.
4. Once the above mixture completely cools off, add it to blender and make fine paste with needed salt.
5. In a separate kadai heat 2 teaspoon oil and add red chilli, mustard seeds, once it splutter add urad dal, curry leaf and switch off the flame.
6. Add above seasoning to chutney.

Capsicum chutney is ready to be served. You can serve this with Idli and all types of dosa. Without seasoning you can use this chutney for sandwich.

Tips:

1. Roasted red capsicum always give good taste.